
Resident Evil 2 is a timeless classic in the survival horror genre, known for its intense atmosphere, gripping narrative, and challenging puzzles. Among the myriad of puzzles scattered throughout the game, few are as enigmatic and crucial as the safes. These secure compartments hold valuable resources essential for surviving the nightmarish encounters in Raccoon City. However, unlocking them requires more than just brute force; it demands keen observation, deduction, and occasionally, a bit of outside-the-box thinking. In this comprehensive guide, we delve into the depths of Resident Evil 2 to uncover the secrets behind each safe code, unraveling the mysteries that await within.
The West Office Safe
One of the earliest safes encountered by players in Resident Evil 2 resides in the West Office of the Raccoon City Police Department. To unlock this safe, you must input the correct combination, which consists of three numbers. While the game doesn’t outright provide the solution, astute players can find clues scattered throughout the environment.
Firstly, examine the whiteboard located in the same room. Here, you’ll notice a series of scribbled letters and numbers. While seemingly random at first glance, a closer inspection reveals a pattern. By correlating the letters with their corresponding numbers in the alphabet, you can decipher the code.
For instance, if the sequence reads: “NED,” it translates to “5-3-9,” with each letter representing its position in the alphabet. Applying this logic to the safe’s combination, you’ll arrive at the solution: Left 9, Right 15, Left 7.
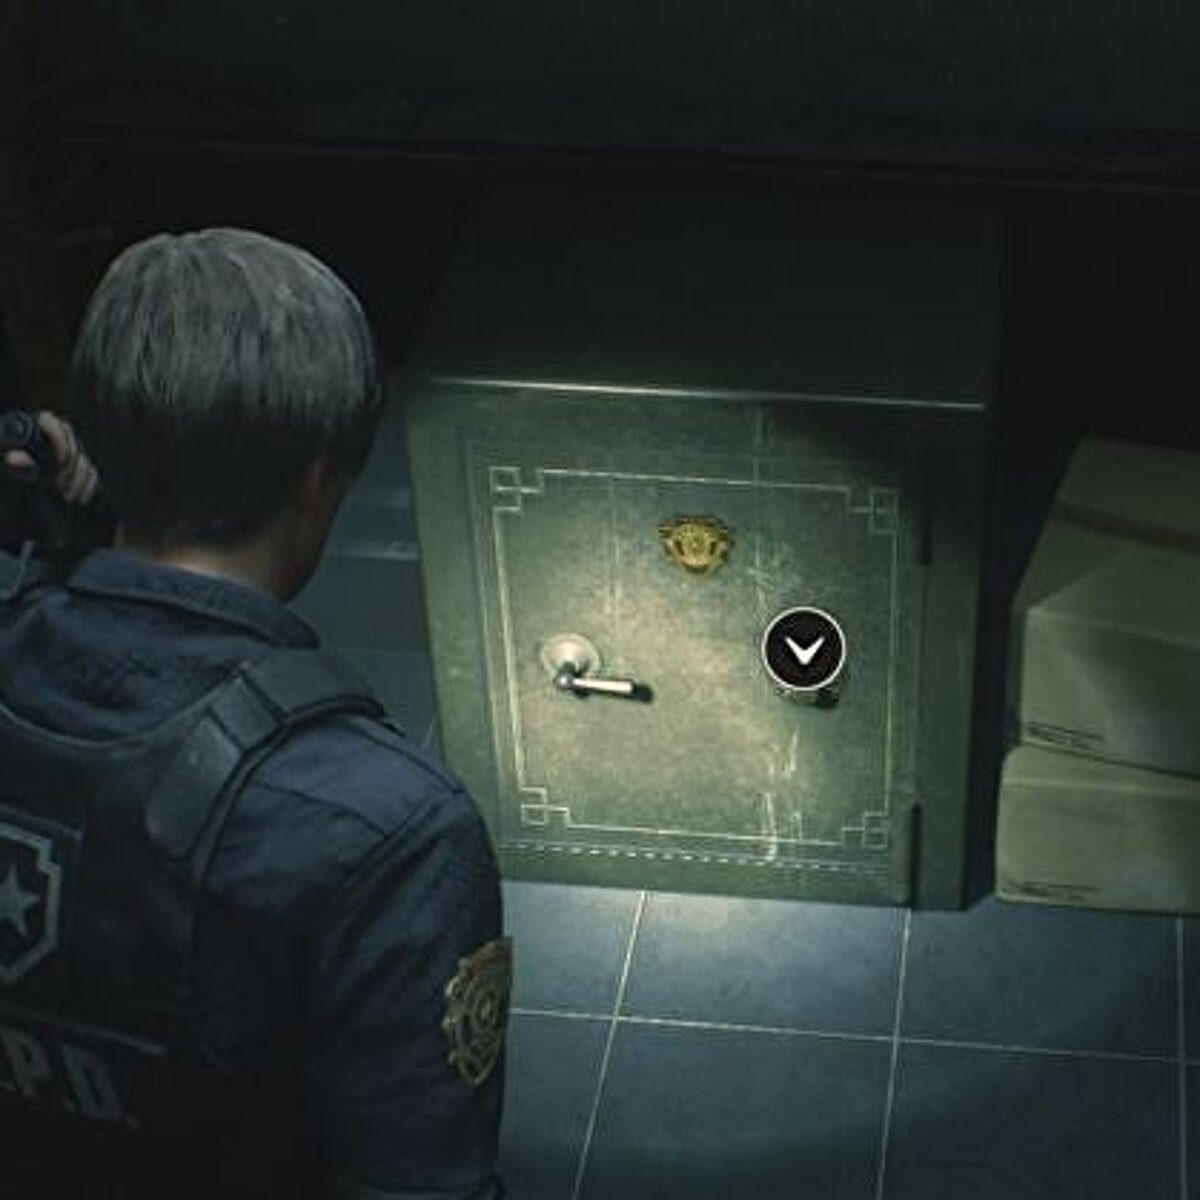
The Waiting Room Safe
Another safe that perplexes many players is located in the Waiting Room, adjacent to the main hall of the police station. Unlike the previous safe, this one requires a two-digit combination. However, discerning the code isn’t as straightforward, as there are no overt clues nearby.
To unlock this safe, you’ll need to exercise your observational skills and think outside the box. One subtle hint lies in the dialogue of a particular character encountered earlier in the game. Listen closely to their words, as they subtly reference a memorable event from their past. This event serves as the basis for the safe’s combination.
For example, if the character reminisces about their 25th birthday, the combination would be 2-5. Alternatively, if they mention a lucky number associated with a childhood memory, that number could also serve as part of the code. By paying attention to these contextual details, you can uncover the hidden code and access the valuable contents within the Waiting Room safe.
The Treatment Pool Room Safe
As players progress through Resident Evil 2, they’ll eventually find themselves navigating the treacherous halls of the Umbrella Corporation’s secret laboratory. Here, amidst the chaos and danger, lies yet another safe waiting to be unlocked. This particular safe, located in the Treatment Pool Room, guards vital resources essential for survival in the later stages of the game.
Unlocking this safe requires a three-digit combination, but unlike previous instances, the clues are less overt. Instead of relying on environmental cues or character dialogue, players must deduce the code through a process of trial and error. However, there are subtle hints scattered throughout the laboratory that can expedite this process.
One such clue can be found in the form of scattered documents detailing the experiments conducted within the facility. By cross-referencing these documents with the numeric keypad of the safe, players can discern a pattern or sequence that leads to the correct combination. Additionally, paying close attention to the surrounding environment may reveal hidden clues or symbols that offer further insight into unlocking the safe.
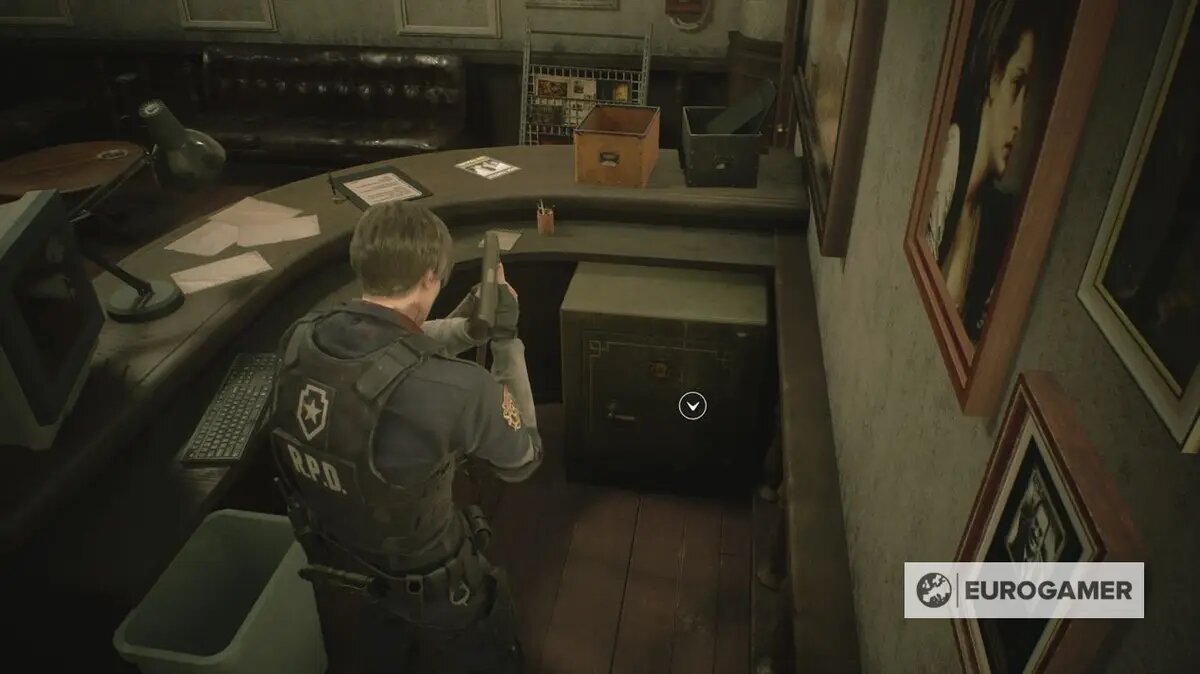
The Police Chief’s Office Safe
Arguably one of the most challenging safes to unlock in Resident Evil 2 is located within the Police Chief’s Office. Guarded by formidable enemies and surrounded by ominous ambiance, this safe demands both courage and cunning from players seeking its valuable contents.
To unlock this safe, players must decipher a sequence of letters and numbers scattered throughout the Police Chief’s private quarters. These cryptic clues, hidden in plain sight, provide the foundation for unraveling the safe’s combination. However, unlike previous instances, the solution is not immediately apparent, requiring careful observation and deduction.
One strategy for cracking the code involves examining the various documents and memorabilia adorning the walls of the Police Chief’s Office. These items often contain subtle references or hints that, when pieced together, form a coherent sequence or pattern. Additionally, interacting with certain objects in the environment may trigger audio cues or dialogue that provide further insight into the safe’s combination.
FAQ
What are safes in Resident Evil 2?
Safes are secure compartments scattered throughout the game’s environments, typically found in key locations such as the police station and the Umbrella Corporation’s laboratory. They contain valuable resources such as ammunition, healing items, and weapon upgrades.
How do I unlock safes in Resident Evil 2?
Safes are typically unlocked by inputting a specific combination of numbers using a numeric keypad located on the safe itself. These combinations can be discovered by solving puzzles, finding clues in the environment, or through contextual hints provided in dialogue or documents.
Where are the safes located in Resident Evil 2?
Safes can be found in various locations throughout the game, including the West Office and Waiting Room of the Raccoon City Police Department, as well as the Treatment Pool Room and the Police Chief’s Office in the Umbrella Corporation’s laboratory.
How many digits are in the safe combinations?
Safe combinations can consist of either two or three digits, depending on the specific safe. Players must correctly input the combination to unlock the safe and access its contents.
Are there any clues to help me unlock the safes?
Yes, there are often clues scattered throughout the game world that can help players determine the correct combination for each safe. These clues can take the form of documents, environmental details, dialogue from characters, or contextual hints related to the game’s story or setting.
What happens if I input the wrong combination?
Inputting the wrong combination will result in the safe remaining locked, preventing you from accessing its contents. Players must find the correct combination through trial and error, deductive reasoning, or by uncovering clues in the environment.
Can I backtrack to safes I’ve missed earlier in the game?
Yes, players can typically backtrack to previously visited locations in Resident Evil 2 to unlock safes they may have missed earlier in the game. However, it’s essential to remember the locations of safes and any clues or hints that may aid in unlocking them.
Are the contents of safes randomized in Resident Evil 2?
No, the contents of safes are predetermined and consistent throughout each playthrough of Resident Evil 2. However, the specific items contained within each safe may vary depending on the difficulty level selected by the player.
Resident Evil 2 is a game rich in atmosphere, lore, and challenging puzzles, and the safes scattered throughout its environments are no exception. Unlocking these secure compartments requires more than just brute force; it demands keen observation, deduction, and occasionally, a bit of outside-the-box thinking. By carefully examining the clues provided within the game world and leveraging your problem-solving skills, you can unravel the mysteries behind each safe code and claim the valuable resources within. So venture forth, brave survivor, and may your wits guide you through the horrors of Raccoon City.
To read more, Click here